Friday, January 2, 2015

HAPPY NEW YEAR!!!

Wow!  This year traveled at lightening speed!  
WHERE DID IT GO?  
So many projects started and sadly...not completed. 
Yet...so many completed and hanging on the walls of my studio or hopefully, 
on the walls of friends and family that I gifted my art. 

With the start of 2015 it is time for me to make promises 
of what I hope to accomplish in the New Year. 

MY NEW YEAR'S RESOLUTIONS:
1. Complete unfinished projects or swap with a friend to complete. 
2. Continue to learn new techniques and share with my blog followers. 
3. Blog more often and maybe even venture into posting video's of my art journals.
 4. Commit to placing all my energy into one art form with the hope
of finding my own style. 

This past year, I had done a lot of experimenting with
many different art forms which, I feel, resulted in my becoming a 
"Jill of all trades and a master of none!" 
In the New Year, I hope to focus on one art form…be it mixed media collage, 
drawing faces and the human figure, 
fantasy art/drawing from the imagination or 
maybe combining all three onto my journal pages.
A combination of collage incorporating drawing and painting of faces and people 
(animals too) all derived from the imagination. 

Sooooo….I guess that I better get started!!!!

Here are a few faces that will eventually find their way into my art  journals.


In closing, I would like to borrow a quote I saw on FB by Neil Gaiman and it is my wish for you:

" May your coming year be filled with magic
 and dreams and good madness,
I hope you read some fine books and kiss someone 
who thinks you're wonderful,
and don't forget to make some art…write or draw 
or build or sing or live as only you can.
And I hope, somewhere in the next year you surprise yourself."
                                                            Neil Gaiman

Let's make art as only you can and may you be surprised by its greatness!!!!

Hugs,
Ginny

Saturday, December 13, 2014

MORE YUPO AND ALCOHOL INKS


I tried to work on my Christmas card but I am soooo uninspired.  Not because I don't have the Christmas spirit…I do, I do!!!!  But because I made the painting for the card 8 1/2 " X 11" thinking that I would scan it and then shrink it to card size. Well…..when I shrunk the card down, it lost a lot of detail and color intensity.   I guess that it is back to the drawing board on that one!!!

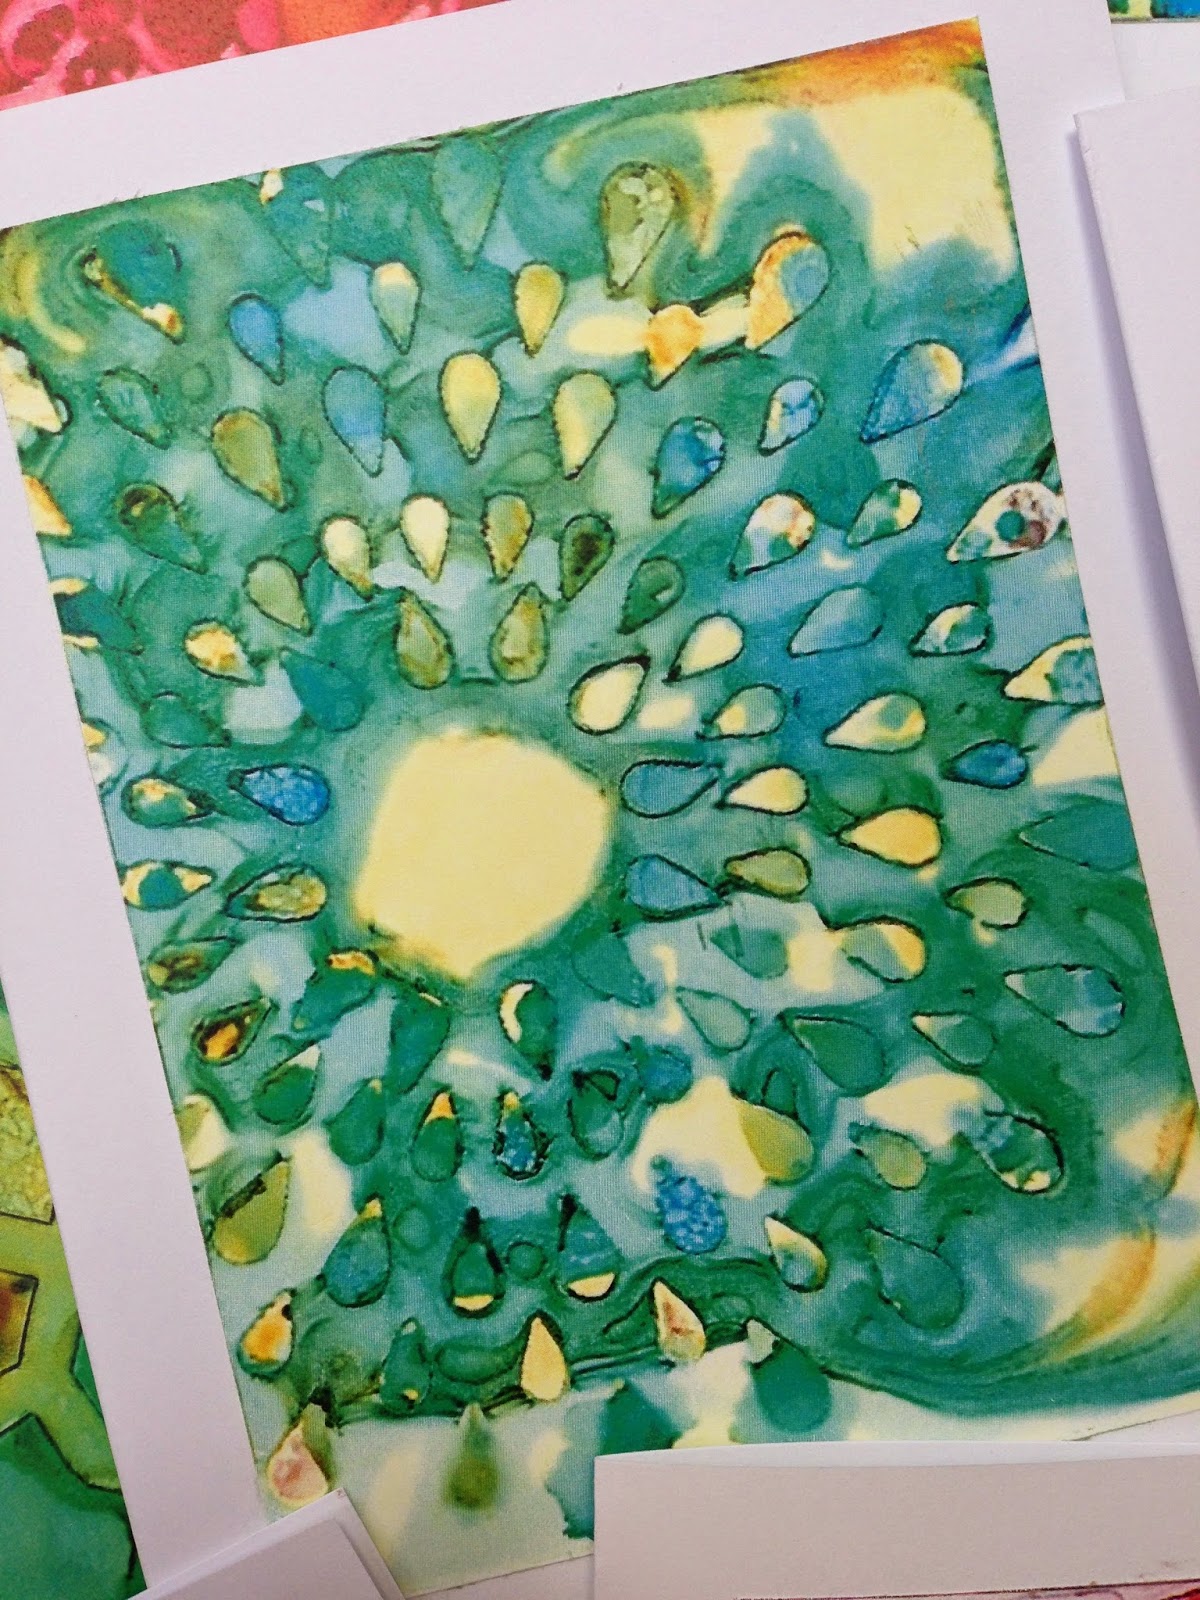
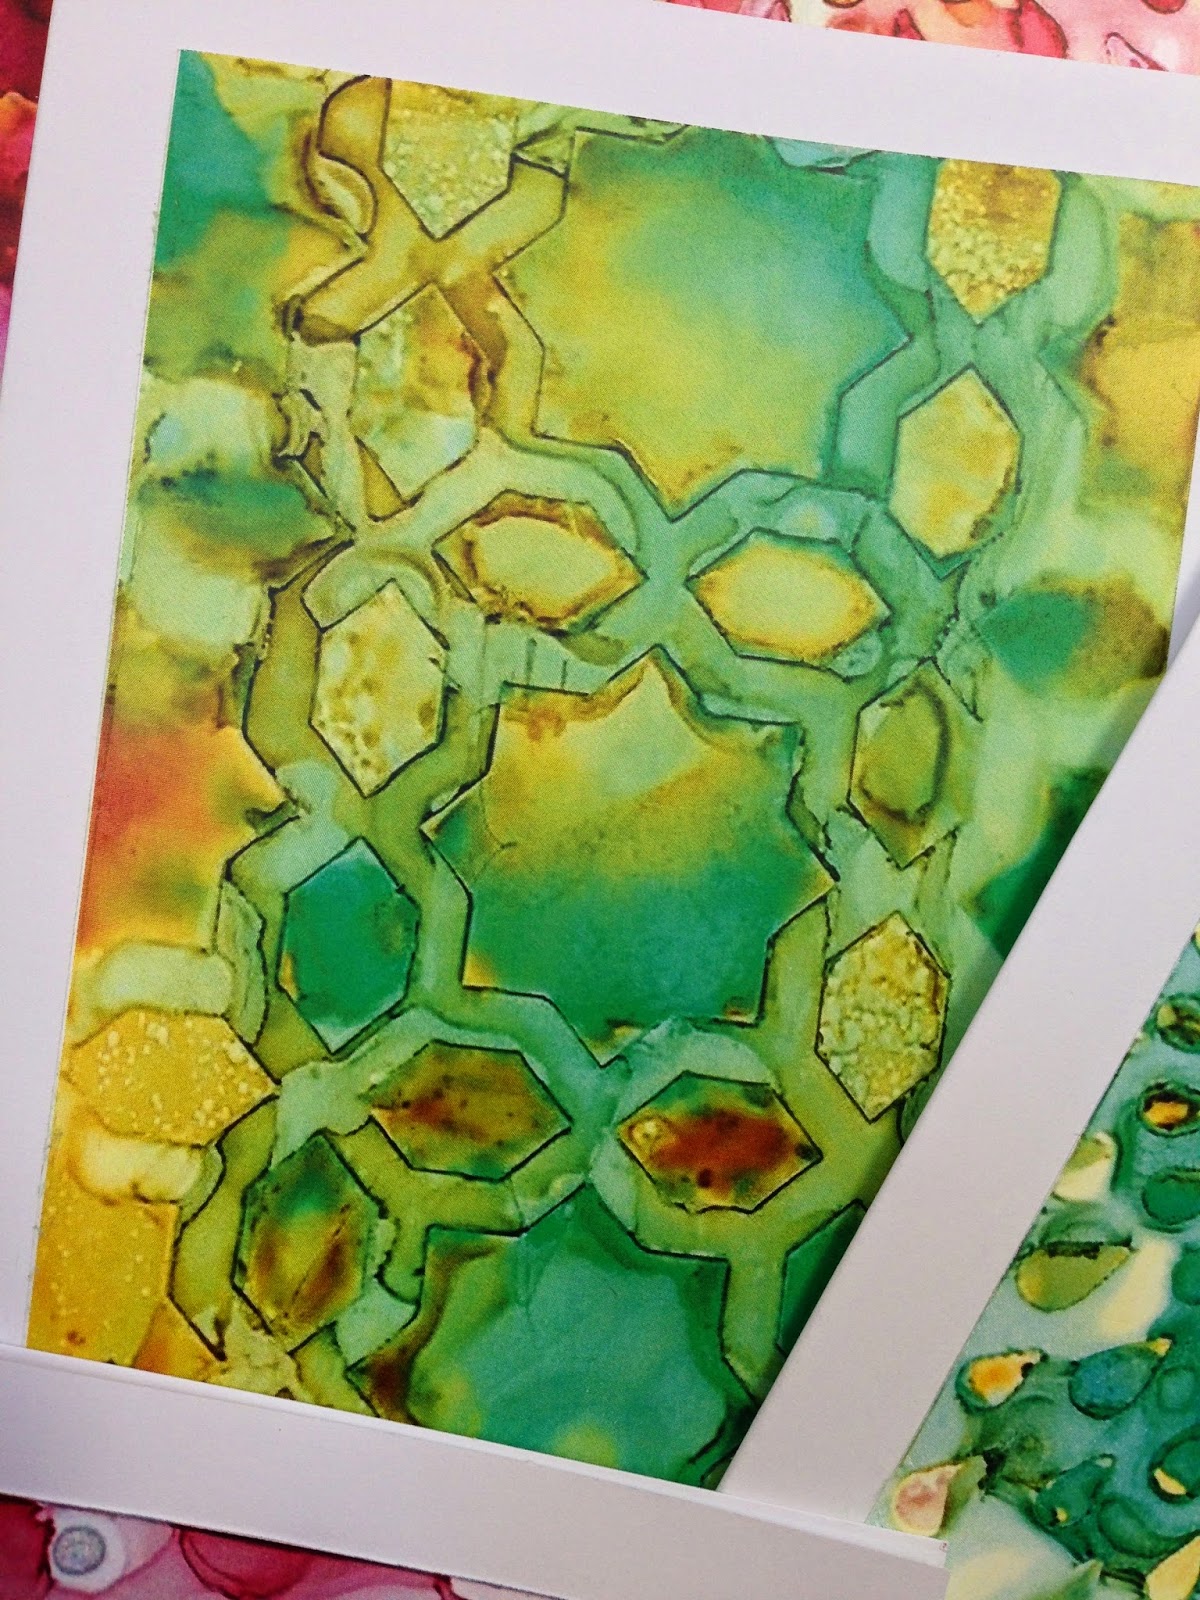
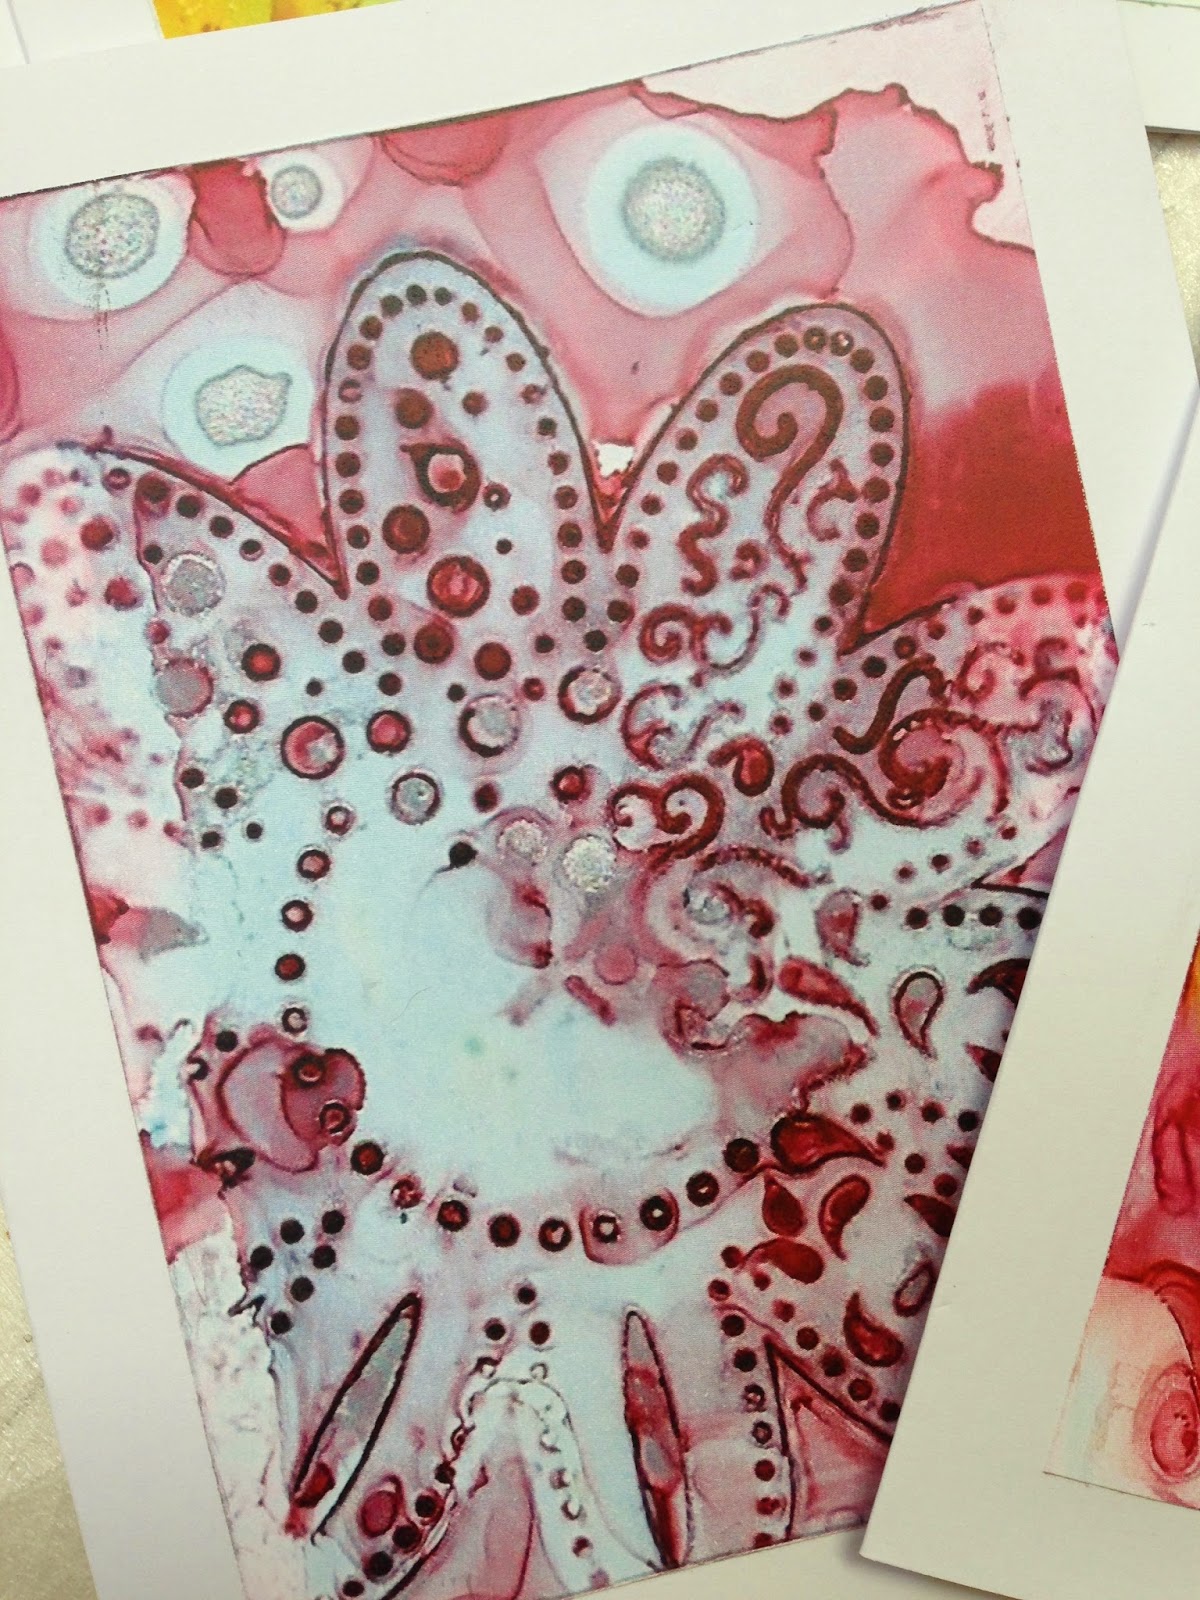
In the mean time….an artist friend of mine made the most beautiful cards using yupo paper and alcohol inks.  I thought that I would give it a try!  She used the originals to make her cards where I decided to use prints from my new laser printer (more about that in a future post) and use those instead.   After all, I may find another use for the originals later.

Some of you may not think that these cards are too Christmasy but I'll make it work.  Also, I plan to give these as gifts.


This is how I made them:

1.  Cut the yupo paper to 5 1/2" x 4"

2.  Lightly mist the yupo paper with 91% Isopropyl Alcohol.  You can find this at any Drug Store.

3.  Drop the lightest background color onto the misted yupo and brush evenly using a paint brush.  I covered the entire sheet but if you wish to have some white show…just slap it on!!!  Also, don't worry about streaks…they will even out on their own as the alcohol flows.

4.  While the background is still wet, place the stencil over it.  It is best to use the very thin plastic stencils as you want them to grab or stick to the background.  If the background dries before positioning the stencil, mist either the back of the stencil or very lightly mist the background with the 91% alcohol.

5.  Drop two to three different colors onto the page….making sure to drop through the openings in the stencil.  I sometimes coaxed the ink with a brush.  Do not use complimentary colors or they will turn to mud.  Try colors in the same family.  Pinks, reds. purples and yellows or Blues, greens and yellow.

6. Set aside to dry.  Tip:  if you push on the stencil and you see ink move…it is not dry.  I left mine to dry overnight just to be sure.  I am very impatient and often tempted to pull the stencil back to look under it but be warned….this will cause the inks to flow into each other and loose detail.

7.  Once dry, pull the stencil off and admire your work!!!

Now, most importantly…CLEAN YOUR STENCILS!  You can clean them by misting them with alcohol and gently wiping with a paper towel.  Also, if you are making several of these and switch colors...clean your stencil and brush between use or the colors may turn to mud when the alcohol on the stencil or brush is reactivated.

There you have it!!!  Alcohol ink and Yupo 101!

Until next time,

Hugs,
Ginny


Friday, November 7, 2014

PLAYING WITH YUPO


There is something magical about a group of very artistic ladies trying out a new product for the first time.  The triumphs, the failures and encouragement from each other pours electricity into the air.  It's like the combined excitement explodes!!!!

Today at Thrusday Art Group, we were introduced to Yupo and alcohol inks by one of our members who so generously provided the materials for our play.  If you are not familiar with Yupo, the best way that I can describe it...it is a plastic like paper.  It can be used with watercolor, acrylic paints and inks and because it is plastic like….the paints just sit on the surface, move and flow into one another and provides beautiful saturated color and marbling.

For our play, we used Tim Holtz alcohol inks.  They are quick drying and come in gorgeous vibrant colors.  We dropped ink directly from the bottle, blew it with a straw, textured with Saran Wrap and stencils and dropped 91% alcohol onto the ink to create further movement, ….you name it…we tried it.  A fun day was had by all!!!!

Here are a few of that I made:

A little doodling was added with a white and black pen.

Drops added... one on top of the other.

We blew ink with a straw

This will probably become an underwater scene.


I am not sure what I will do with these or if I will ever try Yupo again.  It was fun to play with but until I added the doodling, I really didn't see how this would fit into my art.  Anyway…….

Until next time….

Hugs,
Ginny


Monday, October 27, 2014

PAINT A SUGAR SKULL!

With Halloween just around the corner, I couldn't resist painting a sugar skull to hang on the wall of my studio.  Especially when I found these slightly smaller than life size papier-mache masks on sale at Michael's for only $1.00.

I decorated the mask with paper dinner napkins (flowers) and then used acrylic paint pens for the pen work.  Easy peasy!!!!


FYI:  I used Acrylic gel medium to glue the napkins and separated the ply before gluing.  Napkins have two or three plys and must be separated in order to adhere properly.

Have a safe and Happy Halloween everyone!!!

Hugs!
Ginny

Monday, October 13, 2014

WHAT HAVE I BEEN UP TO????

Two weeks ago I decided that I need to make a pull over T-shirt dress…something that I can throw on quickly, grab my purse and fly out the door.  I didn't get too far when my sewing machine of thirty years smoked!  Eeeek!  I quickly turned it off…grabbed the fire extinguisher (didn't have to use it) and waited for the smoke to dissipate.  This was my all time favorite sewing machine…a Bernina Record 930.  The last electronic machine that Bernina made before coming out with computerized machines.  Anyway, to make a long story short, I took it to the shop for repair and was told that Bernina no longer has the needed parts and that it probably could not be repaired.  Well….what is a gal to do?  Buy a NEW machine of course!!!!

I bought a Bernina 560 and it is AWESOME!!!!  It is a machine that has over 100 (9 ml wide) decorative stitches, a touch screen and a needle threader just to name a few of the unbelievable features of this machine.  The average machine has 5.5 ml wide stitches so you can imagine my excitement!  Plus, the fact that all stitches can be adjusted in width and length and can even be welded together via a memory mode.  My mind is just spinning with ideas!!!!

These are two of the things that I made in class to learn how to operate all of its features:

A COVER FOR A 6" X 9" STRATHMORE WATERCOLOR PAD


INSIDE VIEW

ZIPPERED BAG

VIEW OF INSIDE LINING

Projects courtesy of the Bernina Sewing Center, Lake Mary, Florida.  If you are ever in the area, stop by and check it out…you won't be disappointed!!!  They have lots and lots of beautiful finished projects such as quilts, home decor, purses, clothing and all the materials needed to make them.

If anyone is interested in learning how to make the zippered bag, I would be glad to make a tutorial.  It is not complicated nor is it necessary to have a machine that makes decorative stitches.  It could be made using a printed fabric, using ribbon or lace instead of the decorative stitches or even painting the fabric with your own design.

Until next time,

Hugs!
Ginny

TRYING OUT A MOLESKINE


Where do I begin?  I am trying out a Moleskine journal for the first time.  I am a Moleskine virgin!  As  with using any art medium for the first time...there are always challenges.  In this case…it is the thinness of the paper.

I already know that the paper in the Moleskine journal will probably support only graphite and colored pencil so I plan to use it just for pencil sketches.  No ink! That was the plan but once I completed my pencil sketch, I felt that something was lacking and outlined it in ink.  Well...guess what?  It bled through to the other side!  Anyway, I did what I usually do...I decided to go with the flow and let happen what may and deal with the issue later.

In the art world there is always a solution to a problem…right?  Maybe a little gesso or gluing something over it?  Or….maybe even gluing two pages together.  What would you do?  I would love to hear from you and learn how you deal with this issue.

Until next time!

Hugs,
Ginny


Thursday, August 28, 2014

GETTING BACK TO BASICS


There are times when I feel the need to get back to basics and for me that means pencil drawing.  Start at the beginning...grab paper and pencils and draw from real life or photographs.  Make it as realistic as possible…not abstract but an honest to goodness likeness of what I see or how I interpret what I see.  For me, this is the platform or jumping off point of where all my art comes from.  Getting back to basics teaches me to be observant of the details and these details can then be interpreted in various ways to draw or paint the abstract, whimsey, fantasy, etc. 

My inspiration photo was found on Pinterest.  It is a picture of a little girl with blonde hair cut in a "Buster Brown" cut.  I was attracted to this picture because it reminded me of ME at that age.  I always had a "Buster Brown" haircut thanks to my mother's haircutting skills.  Do you see the resemblance?  


I made the sketch into cards by scanning, printing, embossing, coloring with neon markers and adding the faux rhinestone.  There you have it…..instant "Thank You" notecards!  PS…I tell everyone it is a drawing of ME!!!  lol

Until next time!

Hugs,
Ginny