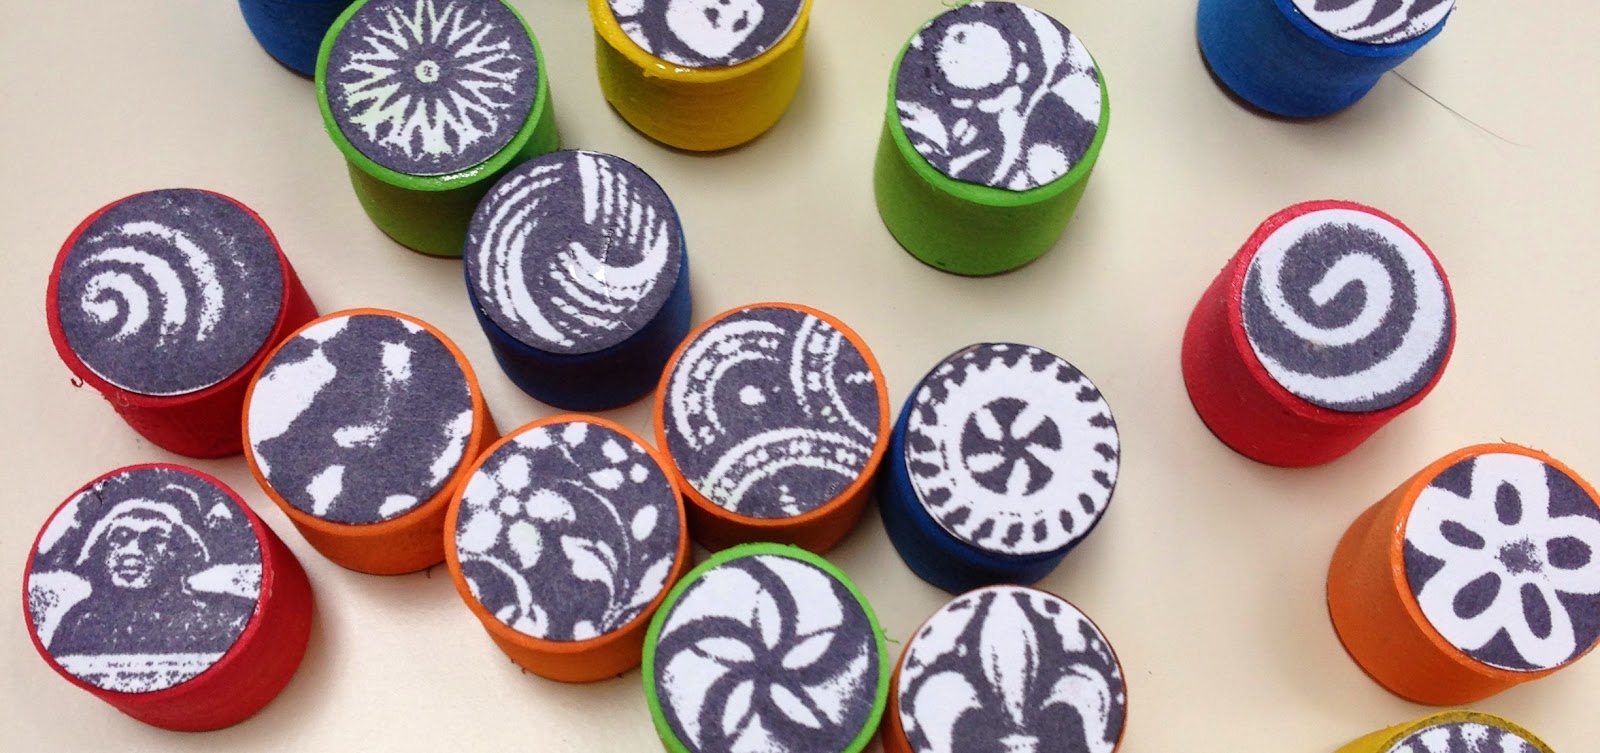
Anyone else have problems with the unmounted cling stamps
falling off the acrylic holder? Well…I DO!
Sooooo...I decided to mount them permanently to wood blocks.
I couldn't find wooden blocks but instead I found "foam counting blocks" in
the children's section of the Michael's store.
These were just the right size and worked perfectly.
After mounting alphabet stamps to the square foam blocks I was left with many cylinder shape counting blocks that were also included. Not wanting to waste anything I decided that I would use them to make stamps. I have done this before by carving or impressing a design in the foam using different tools but I think the foam was more like styrofoam. This foam resembles the foam that you heat and press objects into….so I thought that I would give it a try and see what happens. With my heat gun in hand and a few fancy buttons and brass stampings, I went to work.
First, let me tell you...these little buggers went flying when I applied the heat gun to them. Whoof! Off my desk they flew! They are so light weigh. The solution? Wedge them into the inside corner of a jewelry size box with the heat gun aimed toward the corner.
OK, now that we have that over with...here is what you do. Heat the top side of the foam until it gets shiny and then quickly mash your button or object into the foam and hold for about 30 seconds. Then stamp your image on a white piece of paper and if you are happy with it...cut or punch it out and glue it to the opposite side of the foam. Be sure to line up the image with the stamp. In other words…don't glue the image upside down. This will be your guide for stamping.
If you are not happy with you image, wash the ink off, let it dry and start over by reheating and making another impression.
I have no idea how I am going to use these little gems but I am sure that I will think of something. Maybe some patterns? I see possibilities for the zebra looking pattern.
Until next time….
Hugs,
Ginny


No comments:
Post a Comment