Saturday, February 21, 2015

THANK YOU FOR BRIGHTENING MY DAY

This one was a sleeper!  
I put off doing the pen work because, well…I just wasn't inspired 
by the color or subject matter but as I said before…
put pen to paper and go with the flow!!!
Just let it happen!

Completed collage

Collage prior to pen work.
I don't think that this needs further explanation…it is what it is!

The bug on the girl's dress and the lettering is from a collage sheet by Teesha Moore, the rest is from magazines and children's books.

Until next time….

Hugs,
Ginny

Saturday, February 14, 2015

THE UNIVERSE SPEAKS

Aaarrrgh….this collage was a real stinker!  I painted, repainted, added more collage, painted again.  I have sooooo many layers of paint on it that I finally had to say ENOUGH!

I think the problem was that the composition and colors didn't speak to me.  It started out predominantly red and yellow so I introduced the color green in order to provide more interest.  I made the heart shape into a martian face but it was too dominant and took away from the main character, the girl with the headdress. The solution was to cover the heart shape with a flower girl collage piece by Teesha Moore and by adding yellow paint to the main character's skin.  This created a better balance.  

Finished collage

Collage prior to pen work
This would have made a good Valentine's Day theme collage but you know how it goes…the painting sometimes takes on a life of it own and BOY…did this one ever!

Until next time…

Hugs,
Ginny

Wednesday, February 11, 2015

IMAGINE

"I think the artistry is in having insight into what one sees around them.  
Generally putting things together in a way no one else has before 
and finding a way to express that to other people who don't have insight."  
Steve Jobs

Sometimes the finished collage piece surprises me because it turns out in a way that I had never imagined.  Such is the case with this journal page.  I felt that it was pretty ugly before the pen work and I knew that pen work would really liven it up but this page took on a life of its own.  More embellishment with collage, the addition of the color blue, the tinting of the flowers to match the skin color pull it all together.  I think that it is one of my favorite pages!

Finished collage

Collage Before Pen Work
Until next time…..

Hugs,
Ginny

TIME TO COLLAGE

It's been a while since I last collaged in my "Teesha Journal."  
It feels really good to be back and doing what calms the stress of everyday life. 
 I don't get this feeling from other art forms and it is a puzzle to me why that is.  
Could it be because my other art work requires more planning and skill
whereby, collaging in my journal is more intuitive and there are "NO Rules?" 
With collage I can cut out different elements from magazines, books or 
collage sheets (my go to for collage fodder) and try them out in various locations 
on the page before I commit to gluing them down permanently. 
Then the magic happens…the pen work.  
This is where the "intuitiveness" come in….this is where I put pen to paper and 
color, doodle and draw until I like what I see.  
Until I feel that the page is finished.  
Sigh…..pure bliss!

Here is the finished page with before and after photos.

Finished Collage


Collage Before Pen Work

That's all for now.  I am working on several more pages in my "Teesha Journal"…so stay tuned!

Until next time……

Hugs,
Ginny

Sunday, January 18, 2015

COFFEE CUP JOURNAL

I know that you have probably seen the journals made from a paper coffee cup….like the kind that you get from Starbucks.  Well….I was at Einstein Bagels and they had the cutest coffee cups that said "celebrate close knit friends" with a little cartoon dog pulling the end of the yarn.  Perfect for cutting up and making a small journal.  The coffee cup cosy had a huge black mustache on it so I used that as well.

Here is the finished result:


And…this is what I am drawing inside.  Whimsical faces (close knit friends) using collage news print and Inktense pencils.


That's all for now….Until next time,

Hugs,
Ginny

Friday, January 2, 2015

HAPPY NEW YEAR!!!

Wow!  This year traveled at lightening speed!  
WHERE DID IT GO?  
So many projects started and sadly...not completed. 
Yet...so many completed and hanging on the walls of my studio or hopefully, 
on the walls of friends and family that I gifted my art. 

With the start of 2015 it is time for me to make promises 
of what I hope to accomplish in the New Year. 

MY NEW YEAR'S RESOLUTIONS:
1. Complete unfinished projects or swap with a friend to complete. 
2. Continue to learn new techniques and share with my blog followers. 
3. Blog more often and maybe even venture into posting video's of my art journals.
 4. Commit to placing all my energy into one art form with the hope
of finding my own style. 

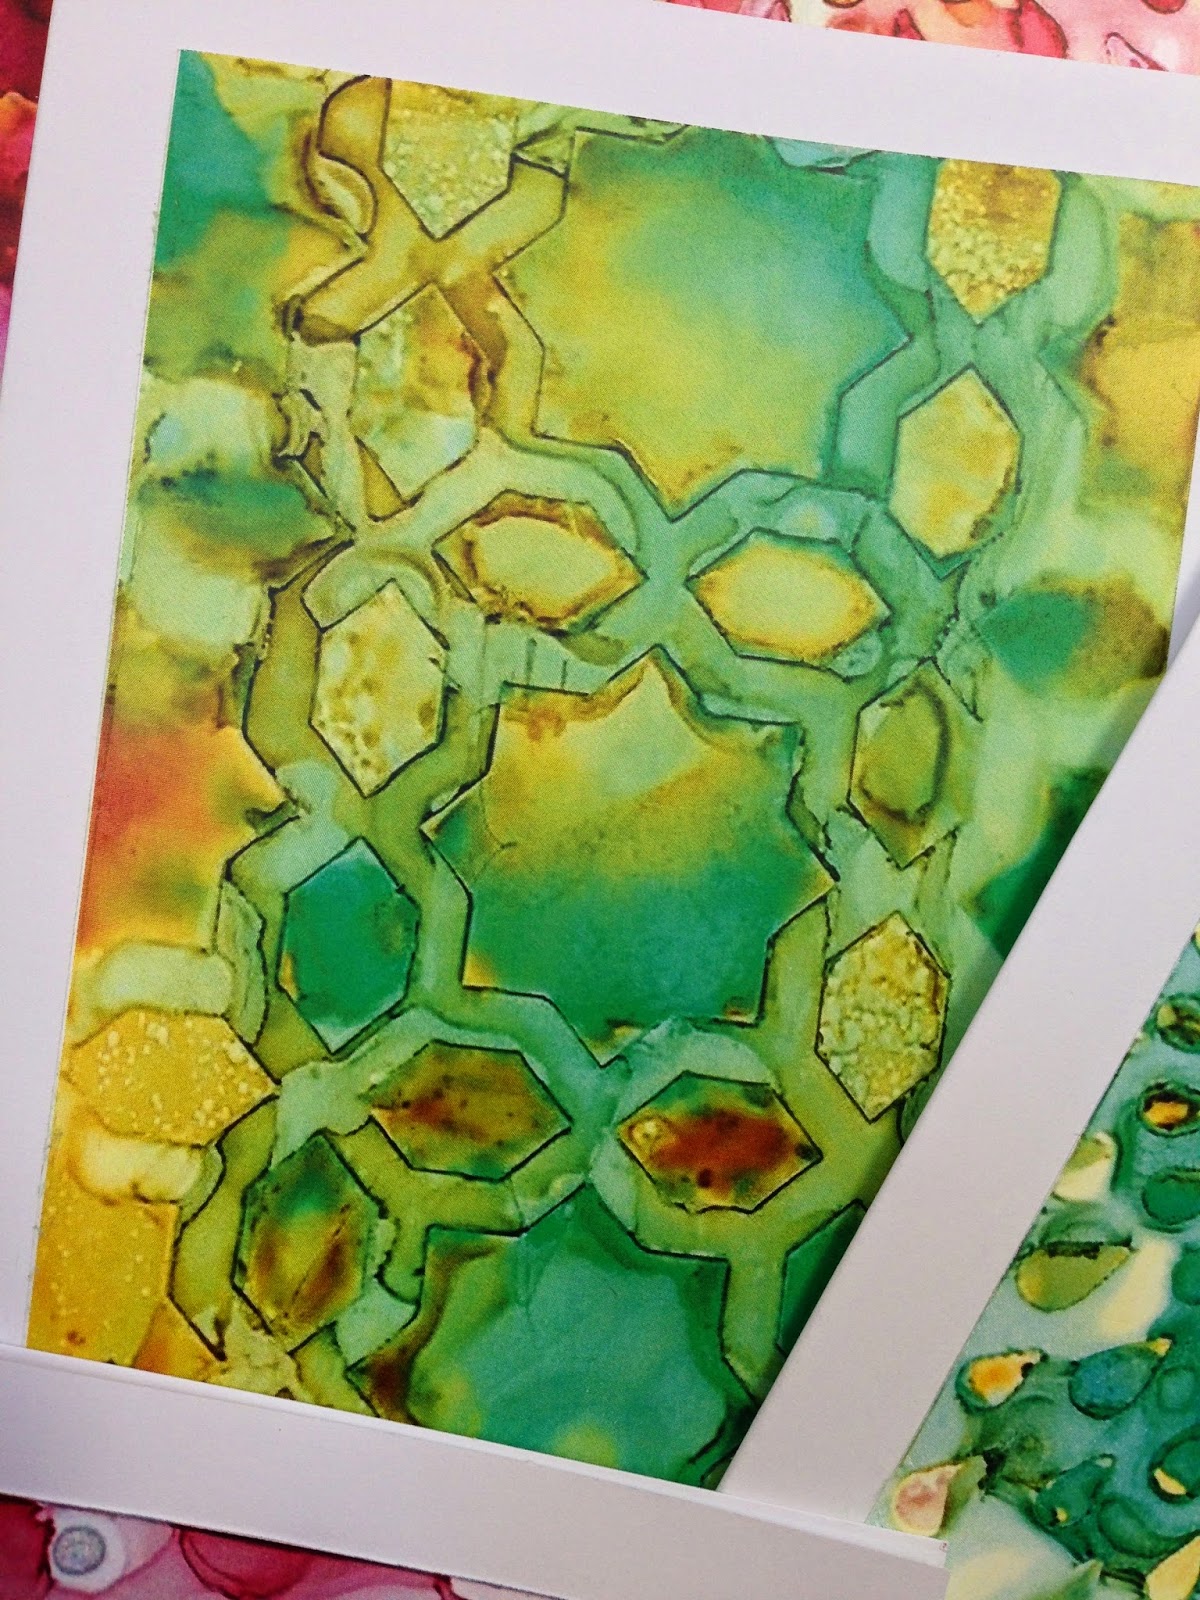
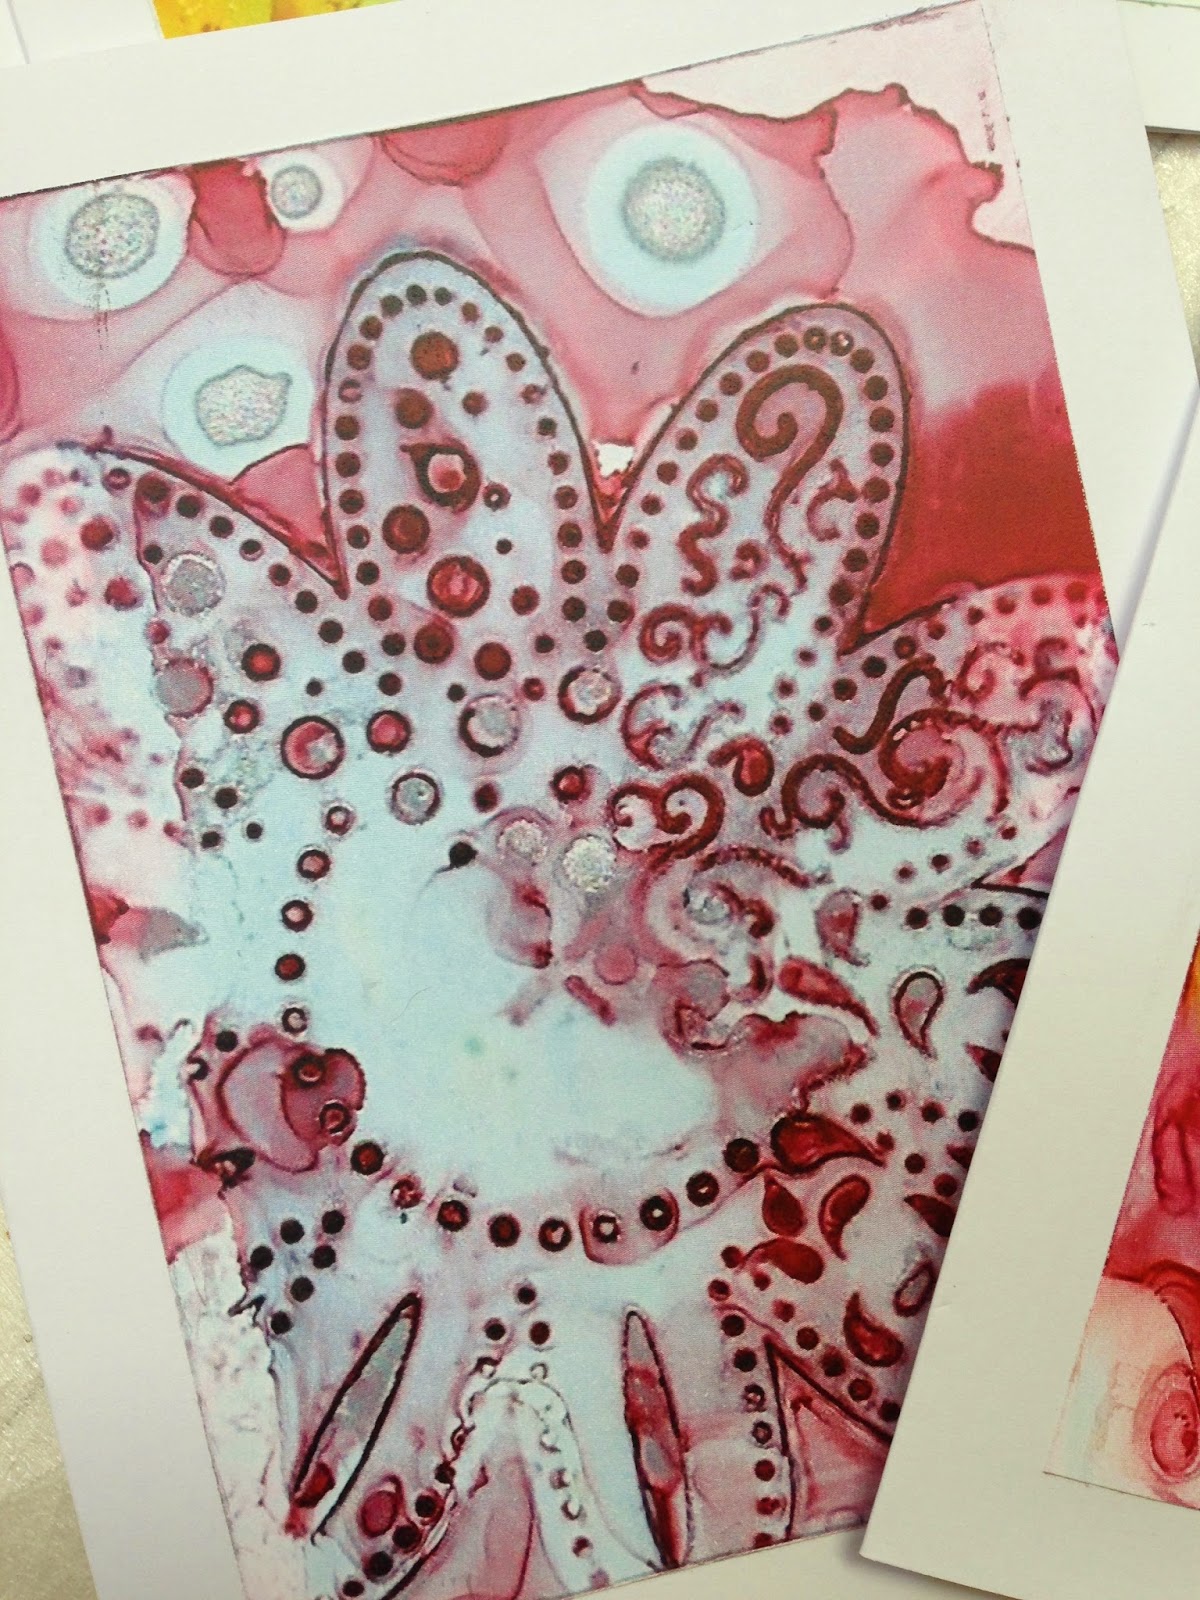
This past year, I had done a lot of experimenting with
many different art forms which, I feel, resulted in my becoming a 
"Jill of all trades and a master of none!" 
In the New Year, I hope to focus on one art form…be it mixed media collage, 
drawing faces and the human figure, 
fantasy art/drawing from the imagination or 
maybe combining all three onto my journal pages.
A combination of collage incorporating drawing and painting of faces and people 
(animals too) all derived from the imagination. 

Sooooo….I guess that I better get started!!!!

Here are a few faces that will eventually find their way into my art  journals.


In closing, I would like to borrow a quote I saw on FB by Neil Gaiman and it is my wish for you:

" May your coming year be filled with magic
 and dreams and good madness,
I hope you read some fine books and kiss someone 
who thinks you're wonderful,
and don't forget to make some art…write or draw 
or build or sing or live as only you can.
And I hope, somewhere in the next year you surprise yourself."
                                                            Neil Gaiman

Let's make art as only you can and may you be surprised by its greatness!!!!

Hugs,
Ginny

Saturday, December 13, 2014

MORE YUPO AND ALCOHOL INKS


I tried to work on my Christmas card but I am soooo uninspired.  Not because I don't have the Christmas spirit…I do, I do!!!!  But because I made the painting for the card 8 1/2 " X 11" thinking that I would scan it and then shrink it to card size. Well…..when I shrunk the card down, it lost a lot of detail and color intensity.   I guess that it is back to the drawing board on that one!!!

In the mean time….an artist friend of mine made the most beautiful cards using yupo paper and alcohol inks.  I thought that I would give it a try!  She used the originals to make her cards where I decided to use prints from my new laser printer (more about that in a future post) and use those instead.   After all, I may find another use for the originals later.

Some of you may not think that these cards are too Christmasy but I'll make it work.  Also, I plan to give these as gifts.


This is how I made them:

1.  Cut the yupo paper to 5 1/2" x 4"

2.  Lightly mist the yupo paper with 91% Isopropyl Alcohol.  You can find this at any Drug Store.

3.  Drop the lightest background color onto the misted yupo and brush evenly using a paint brush.  I covered the entire sheet but if you wish to have some white show…just slap it on!!!  Also, don't worry about streaks…they will even out on their own as the alcohol flows.

4.  While the background is still wet, place the stencil over it.  It is best to use the very thin plastic stencils as you want them to grab or stick to the background.  If the background dries before positioning the stencil, mist either the back of the stencil or very lightly mist the background with the 91% alcohol.

5.  Drop two to three different colors onto the page….making sure to drop through the openings in the stencil.  I sometimes coaxed the ink with a brush.  Do not use complimentary colors or they will turn to mud.  Try colors in the same family.  Pinks, reds. purples and yellows or Blues, greens and yellow.

6. Set aside to dry.  Tip:  if you push on the stencil and you see ink move…it is not dry.  I left mine to dry overnight just to be sure.  I am very impatient and often tempted to pull the stencil back to look under it but be warned….this will cause the inks to flow into each other and loose detail.

7.  Once dry, pull the stencil off and admire your work!!!

Now, most importantly…CLEAN YOUR STENCILS!  You can clean them by misting them with alcohol and gently wiping with a paper towel.  Also, if you are making several of these and switch colors...clean your stencil and brush between use or the colors may turn to mud when the alcohol on the stencil or brush is reactivated.

There you have it!!!  Alcohol ink and Yupo 101!

Until next time,

Hugs,
Ginny